Have you ever wondered if you’re allowed to cut down a tree in your garden? Is it safe to cut a tree down on my own? What tools do you need? Can you cut a tree down without a chainsaw?
We are here to guide you through the process from start to finish. We are North London’s leading experts in cutting down trees safely, and with years of experience and training, we have some top tips that will make the process easier and safer.
Please note: Cutting down a tree without expertise can be incredibly dangerous. This article does not encourage felling a tree without professional help.
Legal Considerations of Felling Trees in the UK
Before cutting down a tree on your land, you need to check whether the tree is protected. In the UK, there are two levels of protection a tree can have.
In a conservation area, any tree with a diameter at breast height (dbh) greater than 7.5cm is protected and will require consent from the local authority tree officer before it can be pruned or cut down. Usually, you will have to submit a S211 notice via the online planning portal.
Some trees or sites are protected by a tree preservation order (TPO). This is the highest level of protection a tree can have.
In this instance a detailed planning application has to be submitted prior to work commencing on the tree. It is advised that if your tree has a TPO on it, you employ an arborist to submit the planning application and carry out the work because the legal implications of pruning or cutting down a tree with a TPO are fines of up to £20,000.
Preparing Yourself For Cutting Down a Tree
1. Assess the Tree and Area
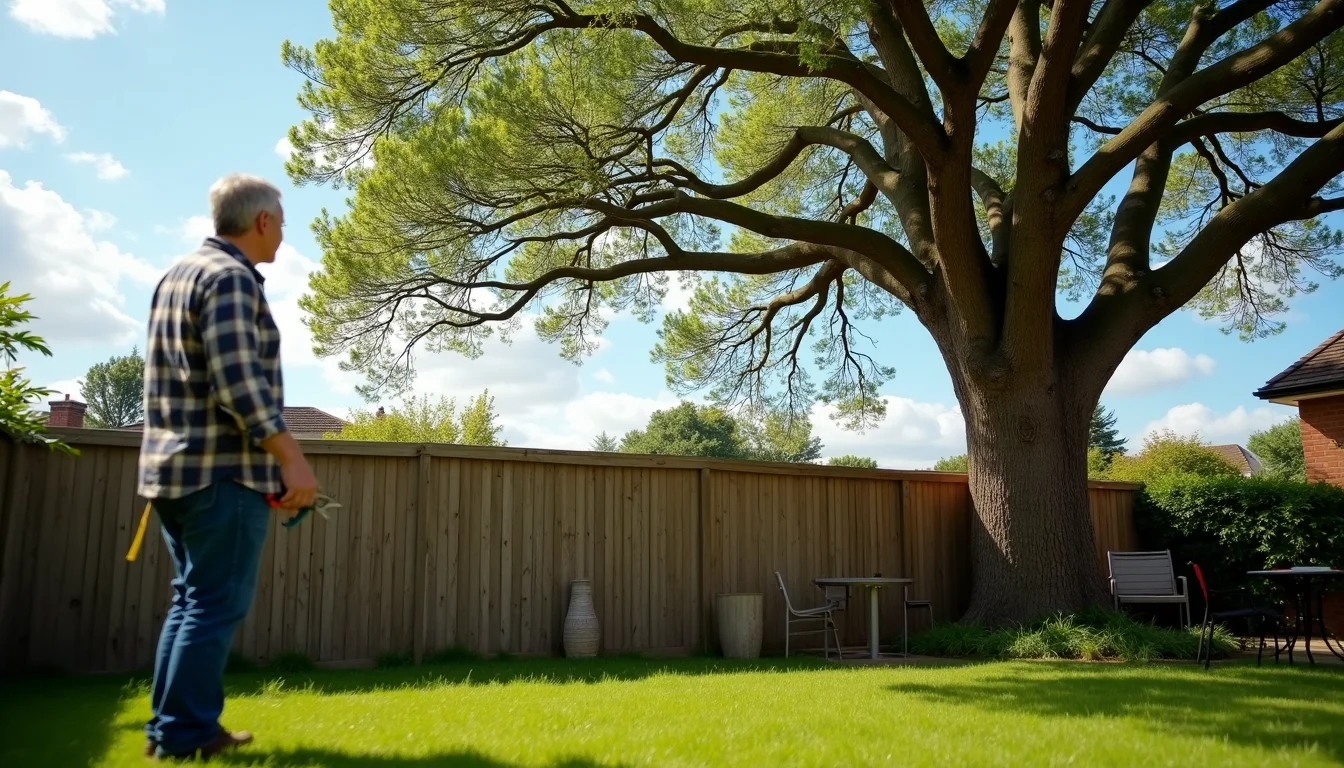
It’s important to know what species of tree you are pruning or cutting down. The wood of different tree species will react in different ways when cut.
Assess the condition of the tree. A dead tree will shatter when it hits the floor. If there are dead branches in the crown, they may fall while you’re cutting the tree.
Ensure there are no obstacles around the tree that could be hit when the tree falls, such as power lines or fences. If there are, employ an arborist to do the job for you.
If a tree is leaning, it will require specialist techniques to ensure it falls in the right direction. Felling a leaning tree requires careful planning and should not be undertaken without proper training.

2. Plan Your Approach
Decide which direction you need the tree to fall. Establish a safe route for you to escape when the tree is falling or in the event of an emergency.
Ensure there are no other people within two tree lengths of the tree to be felled. Is the tree too high to fit in the space you’re felling it into?
3. Gather the Right Tools
You will need:
- A chainsaw
- Felling wedges
- A felling bar
- A sledgehammer
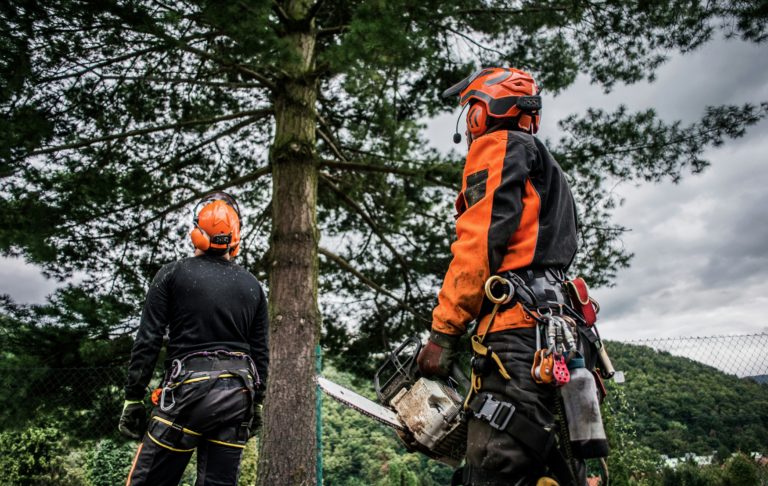
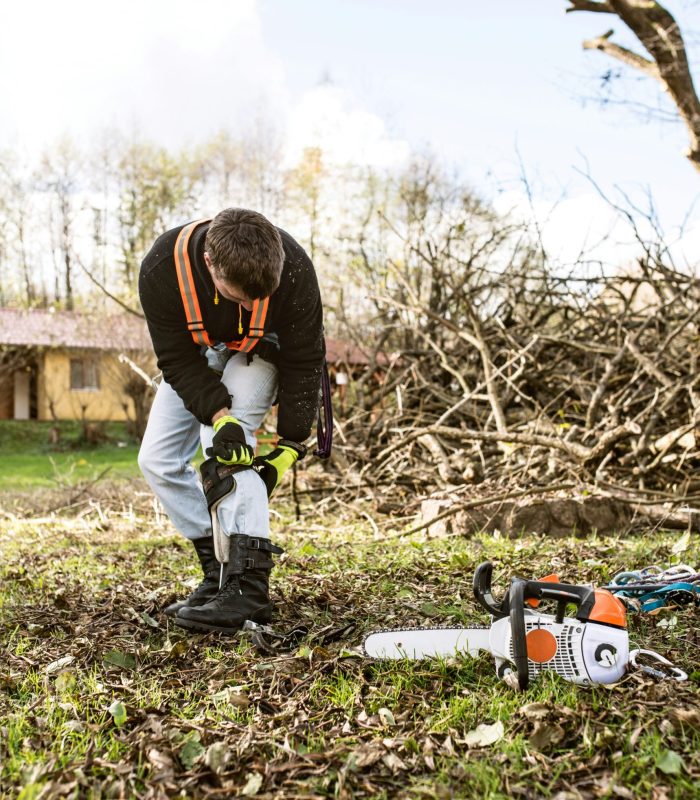
You will also need to wear appropriate safety equipment:
- Chainsaw protective trousers, boots and gloves
- A helmet with ear protection and a visor.
Your chainsaw needs to have a sharp chain, be oiling well, and have all the manufacturer’s safety features in place.

Step-by-Step Guide to Cutting Down a Tree
Step One: Making the Notch Cut
Once you have decided which direction you want your tree to fall, you will need to make a notch (gob) cut. This is a triangle or wedge shaped cut that will control the direction the tree falls. The depth of your notch cut should be roughly 25% of the diameter of the tree that you’re felling.
- Make the bottom cut first, facing the direction you want the tree to fall, approximately 25% of the diameter of the tree.
- Next, make a diagonal cut in the same direction, at roughly 60 degrees to the bottom cut, so they match up and you have a wedge of wood that falls out.
Step 2: The Felling Cut
The felling cut should be made from the back, roughly 2-3 cm above the bottom of the notch cut. You will need to leave 10% of the diameter of the wood as a hinge. Be careful not to cut through the hinge towards the notch cut, as the tree will fall in an uncontrolled manner, which can be very dangerous.
- Felling wedges can be used to stop the tree from sitting back on the bar of the chainsaw.
- Once the chainsaw is ⅓ of the way into the back cut, insert one or two felling wedges into the kerf.
- These can be hammered into place using the sledgehammer and will prevent the bar from being pinched by the tree.
Step 3: Controlling the Fall
Once the back cut has been made and a 10% hinge is left in place, the tree should begin to fall in the correct direction.
- You may need to use a felling bar inserted in the back of the felling cut or wedges hammered in to start the tree falling.
- The hinge will ensure the tree falls in the direction of the notch cut and will break off once the two sides of the notch cut meet each other.
- If you want the hinge to stay intact when the tree hits the floor, make the angle of your notch cut wider (more like 70 degrees).
- If you are felling the tree on a downward slope, you can invert the shape of your notch cut so the diagonal cut comes from beneath the flat cut.
It’s important to keep your escape path clear when felling a tree. Your escape path should be in a diagonal direction at the back of the tree, away from where it is intended to fall. Once the tree starts to fall, or if the tree begins to fall in the wrong direction or the hinge breaks too early, move quickly via the escape route to a point of safety.
How to Fell Small Trees
Small trees may not require the same techniques as bigger trees. A step cut might be sufficient if the tree is small enough. It may be easier with a sharp hand saw than a chainsaw and will require less protective equipment.
A step cut consists of two cuts made horizontally in the wood from opposite sides.
- Depending on the size of the tree, the cuts should be roughly 5cm apart and should overlap by 10%.
- Once the cuts have been made, the branch or tree should easily snap off and can be lowered to the ground safely.
After the Fall - What to Do Next
Removal of the branches once a tree has been felled is called snedding.
- Starting from the base of the tree, work your way towards the tip, cutting off each branch as you go.
- If a branch is free hanging from the trunk, you will need to make a small cut on the underside followed by a finishing cut on the top side to match up with the first.
- If a branch is resting on the floor or another branch, you will need to make a small top cut first, followed by a finishing cut upwards from the bottom.
- This process ensures the compressed wood fibres are cut first and stops your cut from tearing.
- If you don’t cut the compression wood first, your saw will get pinched and will be difficult to remove.
When to Call the Professionals
There are a few scenarios where it’s just not worth attempting to prune or take down a tree on your own. A few of these scenarios are:
- If a tree is dead
- If a tree is leaning
- If it’s covered in ivy
- If it’s near obstacles such as fencing or power lines
In these situations, it’s really important you call a professional who will know the correct way to fell a tree, backed by extensive training and expert techniques.
The key to felling a tree is knowing where it’s going to fall and getting it to fall where you want it to. Professionals are trained in how to do this. They also have expert equipment such as winches, cherry pickers and rigging equipment.
Need To Fell A Tree? Let Us Help You!
Cutting down a tree can be daunting at best and extremely dangerous or costly at worst. So, why not let our team of North London tree surgeons take the reins? With extensive training, years of experience, and a commitment to safety and efficiency, we’re here to ensure your tree is felled hassle-free. From obtaining necessary permissions to the final clean-up, we’ve got you covered. We even have contacts that can turn your beloved tree into a new piece of furniture! Get in touch today for a free consultation.


